


The Strict Press
Give my favorite variation of the press a try to break through your press stagnation

I made a video about the strict press a couple years ago that covers this quick topic pretty well, but wanted to cover it here in writing, as well as add a few points. However, watching the video will still be useful in addition to this article.
Defining Terms
Press refers to a standing barbell two hands overhead press. This is why bench press is modified by the word “bench,” why incline dumbbell bench press is modified by “bench” and “incline” and “dumbbell,” and so on for every variation. This all seems pretty self evident, but in the real world, most people don’t know what you mean when you just say “press,” so I’ve learned that I need to clarify that.
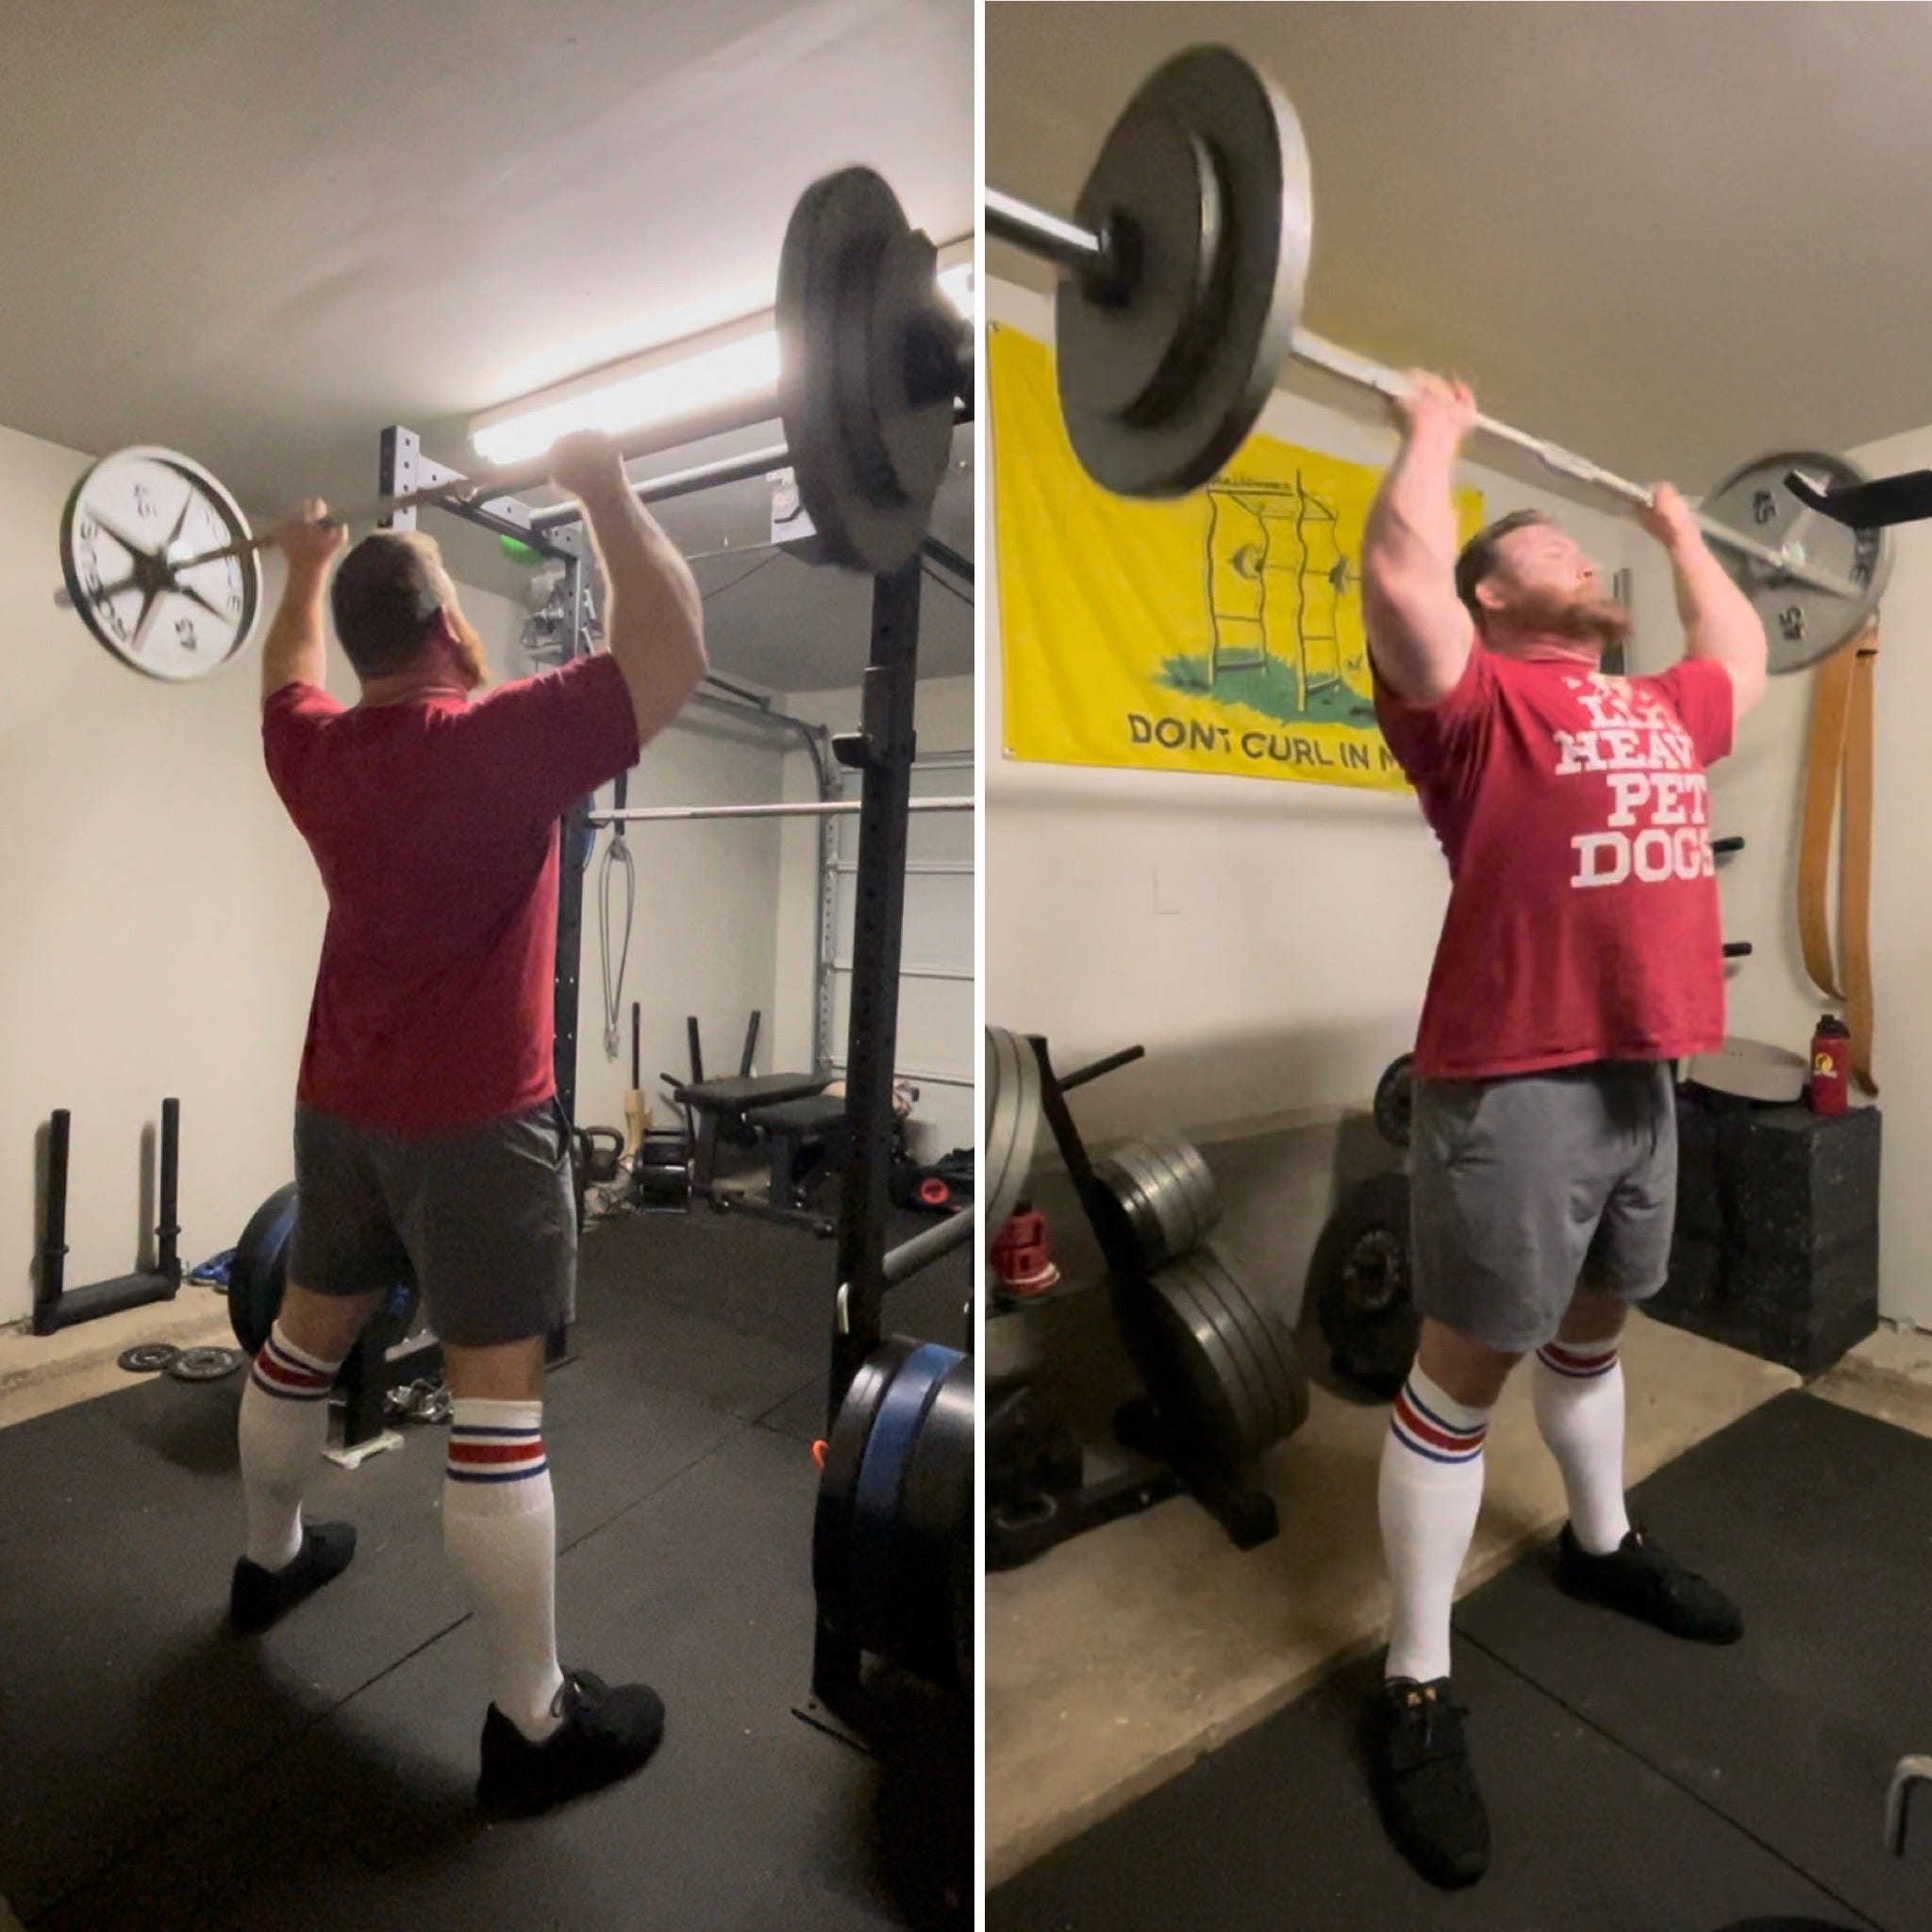
The strict press specifically refers to the version of the movement where you come to a complete full stop at the bottom of each rep, and don’t use any other tricks to get the bar up. You don’t use any hip throwing movement, no layback, no stretch reflex. The bar is pressed with pure upper body work, primarily using the prime movers of shoulders and triceps, to go along with all the supportive work that the leg and trunk musculature provide. But the idea here is to force all the work of actually moving the barbell onto the upper body muscles without any help or tricks that we might usually use to lift more weight.
Despite the superficial similarity to paused bench, I’d actually suggest that this makes the strict press more similar to the larsen press for bench. As referenced in my last article, the larsen press is a bench press with your feet held out instead of on the floor, so you can’t use any leg drive and have little to no arch. This puts all the work onto the upper body musculature alone, with no help from the usual suspects.

Purpose and Use
Normally we WANT that help - whether it be leg drive and a reasonable arch in the bench, or a stretch reflex and moderate hip throw in the press, as they allow us to lift more weight, have a big systemic effect, and help us get stronger. But as you get to be a more advanced lifter, you’ll need to do some variations that hit in different ways, that emphasize or work on different things than solely the primary or competition version of the main lifts, and the strict press is my favorite variation for the press.
By placing all the work on the upper body musculature alone, without any help from a hip throw or stretch reflex, you train those parts of the chain of the movement in a slightly more focused manner. I’ve found that this helps people break through the sticking point - the point in the lift where the momentum from the hip throw or stretch reflex runs out, and you have to rely solely on upper body strength and pushing force. This sticking point usually takes place somewhere between forehead and slightly above top of head level, and has killed many a press attempt.
Sometimes the sticking point is mental - you’re not ready for the momentum from the hip throw or stretch reflex to crash, and to have to push through it all the sudden solely with upper body strength. Sometimes it’s physical - by relying so much on that stretch reflex or hip throw momentum on normal reps, you don’t develop the upper body strength in that early part of the range of motion in the press to operate the bar upwards without it. Usually it’s some of both.
Whatever the specific case, utilizing the strict press can help you break through this barrier, and is also helpful for training the upper body musculature in its own right.
Performance Details
This short article assumes you already know how to perform the main version of the press. Here’s a quick 4 picture sequence of the strict press, through which I’ll highlight key performance points. Notice that unlike the regular press, there’s no thrust or push of the hips, I just go from holding the barbell to pushing it up with my upper body.
Starting position

The bar is held in the hands, with roughly vertical forearms and straight wrists (not bent backwards), towards the front part of the chin. If you have longer forearms like I do, the bar will ‘float’ up above your collarbone and that’s fine. If you have shorter forearms and the bar sits across your upper front delts, that’s ok too, but don’t bend your wrists back or drop your elbows to facilitate that position - it’s fine if it floats, like mine does here.
Holding the bar towards the front of the chin, rather than deep back under your gullet by your neck, is important too, as this facilitates a much straighter bar path. Elbows are up such that forearms are roughly vertical - neither down which makes your forearms angle away from you, nor up so high that it’s like a clean rack position - and arms jammed into your ribcage rather than flared out to the side.
Aim for your nose!

Not literally of course, don’t smack yourself in the face with the barbell, but notice how close to my nose is the barbell is here - this can be seen from both the front and the rear views. Think about how holding a heavy weight at full arms’ length makes it feel much heavier vs holding the same weight tight to your chest. The same thing applies here to the press: pushing it away from your face in a big old arc makes the same weight much harder, making for a very inefficient and non-repeatable movement pattern. Aim for your nose, to keep the bar super close to your face, so your press is efficient, you can lift more weight, and repeat the same movement reliably again and again.
Drive the bar up and back as it passes your head
You can see here I’ve started to press the bar slightly backwards from where it was prior. The barbell can only be locked out stably directly over the shoulders, any deviation from this will result in some moment on the bar that will make lockout unstable at a sufficiently heavy weight. Just imagine holding 300 lbs over your head at a 45 degree forward angle and you’ll quickly understand why. The bar can only be held stable in lockout if it’s absolutely directly over your shoulders.
Due to the inherent limitations of human anatomy, we can’t start with the barbell directly over our shoulders at the bottom and then press up in a perfectly straight line. While this would be mechanically efficient, it’s not possible. The upshot is that our starting point will be a few inches forward, horizontally speaking, from our lockout point. This means the barbell will have to travel a few inches backwards as it travels a few feet upwards.
However, until the bar is up past our heads, we can’t start this backwards process, at least not very much - if we do that, we’ll just smash the bar into our faces, which I 0/10 do not recommend. So only once the bar is up past your head, as it is here in the pic for me, begin to purposefully push it up AND back. If you’ve done your job in step 2 and kept it close as it passes your face, you’ll be in a good position to drive it up and back now.
Lockout with fully straightened elbows and a big shrug at the top

The bar is locked out directly over my shoulders, elbows straight and fully locked, and a big shrug from my traps to complete the movement and help keep my rotator cuffs happy. Legs and hips remain active throughout - knees locked, hips and abs/low back engaged. They’re not prime or even secondary movers of the barbell, but they provide necessary support: if your legs and trunk are squishy, you’ll leak force instead of having it efficiently transmit from the floor, through your body, into the barbell.
Return the bar to the starting position in picture 1 - no dropping elbows, no saggy forearms - and you’re good to go for the next rep.
Breathing
Generally when lifting we want to have a big solid held breath during the performance of a heavy lift, with the actual breathing in and out taking place between reps rather than during. For the strict press, you can do all your breathing at the bottom: quick exhale at the bottom, then inhale, and hold your breath in as you brace your trunk for the next rep, then press. If you’re first learning how to press, or new to the strict press, do this.
What I like to do is a little more complicated, so I recommend it only after you’re a more experienced presser. I breathe out quickly at the top, then breathe back in the first half of the way down. This way I only have to pause for a brief moment at the bottom, rather than a long pause to get all that old breath out, get all that new breath in, then brace. It’s a little more efficient but also requires a little more timing and skill, so wait til you have the basic version down pat before trying the more advanced breathing method.
And that’s all for the strict press. If you’re an advanced enough lifter to need some variety in your presses, or you’ve tried to learn the hip throw and it’s just not connecting or making sense, give the strict press a try.