

Pain Workarounds: How Not To Screw It Up
Pain Workarounds: How Not To Screw It Up

A few weeks ago I published this piece on how to handle shoulder pain on the bench press. Not how to fix it, not how to rehab it - those are different articles, and depending on the severity, possibly outside my scope and more in the realm of a physical therapist - but how to handle it in terms of simple “what to do” at the gym to continue training while dealing with a sub-clinical pain issue. The general principles of that article are useful, as is the specific advice that follows from those principles, which I lay out there. But something happened with a client this week that made me realize more context is needed to do this correctly.
My client was having shoulder pain, primarily while bench pressing, but it was also bleeding into the standard barbell (overhead) presses that we do, and some other life stuff as well.
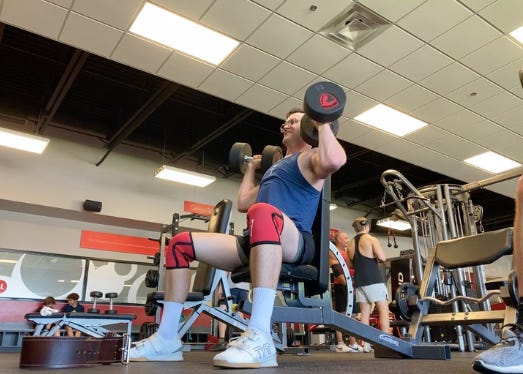
Using the methods outlined in that article, he found that he could do seated angled grip DB (overhead) press and tolerate it well. So that’s what we were going with. I gave a max intensity allowance of RPE 6.5 for right now, based on the combination of his pain level and all the other factors. But on just the second workout doing them, he felt good about being able to do this movement pain-free and pushed the weight up to 65 lb dumbbells for sets of 10. He has a max (normal, standing barbell) press of about 210 lbs, so while these were still submax, they were quite challenging, reaching RPE 8.5 on the final set. And he felt some pain again. Thankfully it doesn’t seem to have set his recovery back, but it easily could have. This incident informed me that the info I presented in the previous article was insufficient, and I needed to better clarify some of the WHY, not just the WHAT, in order to give a fuller picture on how to execute this process correctly. Otherwise people will feel free to disregard the RPE 6.5 limit and push harder too quickly, like my client did, possibly to bad outcomes.
So now with the background info and without further delay, more of the why:
There are 3 main objectives in this process:
1. Don't do anything that majorly re-irritates the painful area while it's healing.
2. DO things that help you avoid de-training, without messing up #1.
3. DO things that will help the area heal via sending blood flow to the area, as well as sending neurological messages that "I can do stuff that doesn't hurt, pain isn't inevitable!", and then use the stress—>recovery—>adaptation cycle to slowly increase the difficulty of this stuff, one step at a time, til you eventually return to both the normal movement pattern and full weight.
To do #3 well, you need to start easier than you absolutely have to, both out of caution for #1 happening, as well as giving you a running start of 2-3 workouts where you DEFINITELY send the neurological message that you can do stuff that doesn't hurt, that pain isn't inevitable, before anything might even remotely get hard enough to be a concern.
And this is also tied in with #2 - since you're just trying to avoid detraining, not actually push training forward - risking messing up both #s 1 and 3 for a few more lbs on a thing that's only preventing detraining anyway, just isn't worth it.
Hopefully that explains the process in more detail so you can make good choices and implement the pain protocols with wisdom and success.